
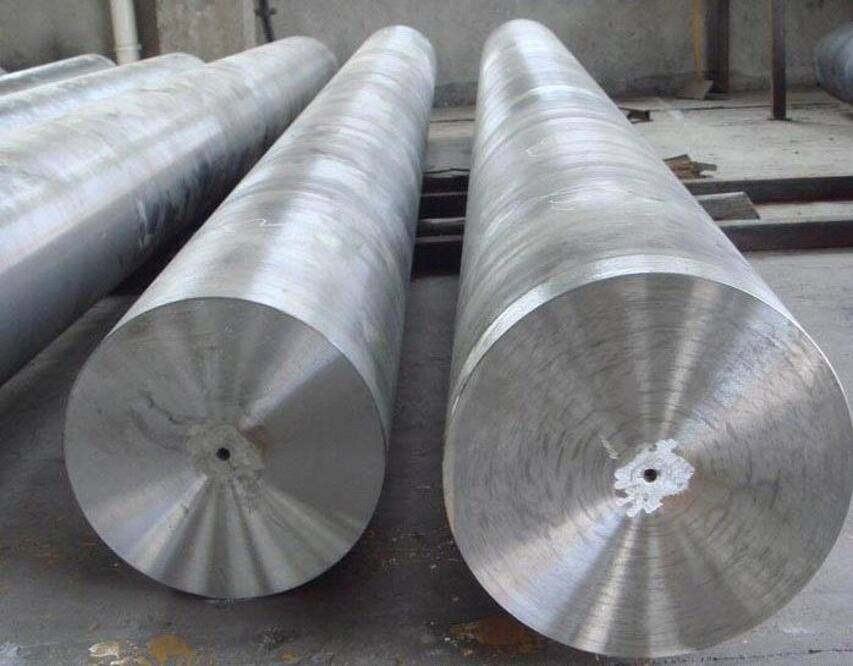
A failed super-duplex component can look like a simple corrosion incident while the real cause lies in an incorrect grade, damaged surface, weld heat-affected zone, harmful intermetallic phase or unsuitable service condition. By following the evidence from service history through laboratory testing, you can separate corrosion, cracking, metallurgical damage and manufacturing defects before selecting a repair or replacement.
Key takeaways
- Photograph and preserve deposits before cleaning or grinding the component.
- Separate corrosion, cracking, welding damage and mechanical damage by pattern and location.
- Test parent metal, weld metal and surface deposits as separate evidence sources.
- Specify replacement grade, heat treatment, testing and traceability documents before purchase.
Start with the component’s history, condition and location of damage
Photograph the component before cleaning, disassembly or grinding. Record the damage location, orientation, pit density, crack openings, deposits, heat tint, machining marks, thread roots, gasket faces, welds and heat-affected zones. Preserve loose deposits and corrosion products in labelled containers.
A useful record for diagnosing super duplex special metal for problems begins with evidence that fixes what the part was and what it experienced:
1. Record the exact UNS designation, heat number, product form, dimensions, delivery condition and heat-treatment details. “Super duplex” is not enough; compare the certificate with the purchase order and distinguish UNS S32750 or S32760 from lower-alloyed S31803 or S32205.
2. Collect service records for temperature, pressure, chloride concentration, pH, dissolved oxygen, H2S exposure, flow velocity, shutdowns, chemical cleaning, cathodic protection and process upsets. Note the installation date and time to failure.
3. Map the damage against welds, forged sections, bores, threads, sealing faces, supports, stagnant pockets and flow direction. Record wall loss and critical dimensions before removing material.
4. Obtain welding procedure, filler-metal, heat-input, interpass-temperature, shielding-gas and repair records, plus machining parameters, insert condition and coolant history. Worn tools, rubbing and excessive dwell can harden the surface and create misleading corrosion evidence.
Keep an undisturbed area, a damaged surface and any weld or thermally affected region available for comparison. Sample the centre and surface separately; do not let cleaning, cutting heat or careless grinding erase the evidence needed to explain why the super duplex failed.
Match the damage pattern to the likely failure mechanism
A pit, crack or worn surface points to different causes, but location and morphology must agree before you name the failure. In duplex stainless steel, inspect the metal, weld zones and deposits separately; a damaged surface can imitate inadequate alloy performance.
- Pitting appears as isolated, sharp-edged cavities on exposed surfaces, often beneath chloride deposits, iron contamination, heat tint or grinding debris. Deep, narrow pits with little general attack indicate local passive-film breakdown.
- Crevice corrosion starts in shielded gaps beneath gaskets, washers, lap joints, deposits or threaded parts. Expect a tight corrosion mouth with broader attack underneath, unlike freely exposed pitting.
- Chloride stress-corrosion cracking produces branched cracks, commonly near hot surfaces, residual stress or tensile load. Cracks may cross grains or follow a mixed path; a pit often marks the initiation site.
- Erosion-corrosion causes directional grooves, horseshoe-shaped attack, downstream thinning or a polished-looking surface where fast fluid, entrained solids or gas bubbles removed the passive film.
- Hydrogen damage creates blisters, internal separations or stepwise cracks, especially near welds and cathodically protected surfaces. Ultrasonic inspection can reveal subsurface damage that visual inspection misses.
- Sulfide stress cracking is brittle cracking under tensile stress in wet hydrogen sulfide service. Confirm the H2S exposure and inspect fracture surfaces for little plastic deformation rather than treating every hydrogen-related crack as the same mechanism.
- Microbiologically influenced corrosion often shows tubercles, slime, black sulfide deposits and clustered pits beneath deposits. Confirm it with deposit analysis and microbial testing; appearance alone cannot prove MIC.
Check phase balance and welding-related damage
Check ferrite-austenite balance across the parent metal, weld metal, fusion boundary and heat-affected zone. Excess ferrite from rapid cooling can reduce toughness and chloride-corrosion resistance; insufficient ferrite can also indicate an unsuitable weld thermal cycle. Magnetic response is only a screening clue, not proof of the phase ratio.
Look for damage created between about 600 and 1,000 °C. Slow cooling, repeated welding, repair welds, excessive heat input or high interpass temperature can precipitate sigma phase and chi phase. These chromium- and molybdenum-rich intermetallics leave nearby metal depleted, causing embrittlement and localized corrosion.
Rapid cooling can instead trap excess ferrite and form chromium nitrides, which reduce toughness and pitting resistance. Hardness and visual inspection alone cannot exclude these phases.
Use this checklist before blaming service conditions:
- Confirm the exact UNS grade and product condition. “Super duplex” is insufficient; UNS S32750 and UNS S32760 have different chemistry and heat-treatment requirements.
- Examine etched cross-sections by optical microscopy, with scanning electron microscopy or other phase identification when sigma, chi or nitrides are suspected.
- Compare ferrite and austenite measurements in the plate, weld metal, fusion boundary and heat-affected zone. Testing only the parent metal can miss the failure.
- Review welding records for heat input, interpass temperature, shielding gas and cooling rate. Check whether the specified solution heat treatment and rapid quench were completed.
- Inspect heat tint beneath the weld. Oxide scale and chromium depletion can lower localized-corrosion resistance until pickling or another qualified cleaning process removes the affected layer.
Order tests that examine the parent metal, weld and surface separately
Separate samples from the parent metal, weld metal, fusion boundary, heat-affected zone and exposed surface; testing only a plate coupon can miss a local weld failure. Preserve an uncleaned fracture surface, then sample the component centre, bore, threads, repair welds and thermally affected areas.
- Start with visual inspection, dimensional checks, dye-penetrant testing for surface-breaking cracks, and ultrasonic testing for internal flaws or wall loss.
- Verify the exact UNS grade and heat number using optical-emission spectroscopy or laboratory chemistry. Handheld X-ray fluorescence screens chromium, nickel and molybdenum but cannot reliably separate grades through carbon or nitrogen.
- Use metallographic cross-sections to measure ferrite-austenite balance and identify chromium nitrides, sigma phase, chi phase, porosity and segregation.
- Use scanning electron microscopy with energy-dispersive spectroscopy on deposits, pits and fracture surfaces. Add hardness mapping, fracture examination and corrosion testing when cracking or hydrogen damage remains possible.
| Region | Non-destructive tests | Laboratory tests | What the result confirms |
|---|---|---|---|
| Parent metal | Ultrasonic testing and radiography | OES chemistry, metallography, hardness and ferrite measurement | UNS S32750 or S32760 identity, condition and internal defects |
| Weld and HAZ | Dye penetrant, ultrasonic testing and radiography | Weld chemistry, cross-section microscopy and hardness mapping | Fusion defects, excessive ferrite, nitrides or heat-affected-zone damage |
| Surface | Visual mapping and dye penetrant | SEM/EDS, deposit analysis and polished cross-section | Iron contamination, heat tint, machining damage, chloride deposits or microbial products |
Compare every result with the mill test certificate, heat-treatment record and specified product form. A passing certificate does not override evidence from the failed location.
Use the diagnosis to choose the correct replacement material and documentation
A replacement is defensible only when its grade, condition, surface and fabrication controls address the diagnosed mechanism. Do not choose by tensile strength alone: AISI 316L is not a direct substitute for super duplex, and “duplex” does not identify one corrosion-performance level.
| Option | What it means | When it applies |
|---|---|---|
| AISI 316L | Austenitic stainless steel with lower resistance to chloride pitting, crevice corrosion and chloride stress-corrosion cracking | Select only when the revised service assessment confirms acceptable chloride, temperature and stress conditions |
| Super duplex | Use the exact UNS grade, such as S32750 or S32760, because chemistry, heat treatment and corrosion performance differ | Choose for high chloride exposure, strength demands or a failure caused by inadequate alloy resistance |
| Duplex | Could mean S31803 or S32205, which are lower-alloyed than super duplex | Use only after checking pitting resistance, temperature, weld condition and design loads |
| Inconel | A family, not a single material; specify the alloy number, such as 625 or 718, and its condition | Consider it when nickel-alloy resistance is justified by the chemical environment, temperature or cracking mechanism |
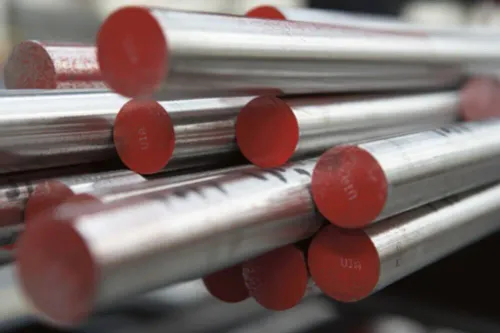
Specify the replacement with its UNS number, product form, heat number, solution-annealing condition, ferrite-austenite examination and surface-finish limit. Steel Mart can help procurement compare certified forged or machined stock against those details rather than accepting “super duplex” on a quotation.
- Require an EN 10204 3.1 certificate, chemistry, heat-treatment record and traceable marking.
- State weld heat input, interpass temperature, shielding gas and inspection method.
- Inspect machined surfaces for heat tint, embedded iron, grinding damage and hardened layers before service.
Related product
 | Non Ferrous Metals Super Duplex Stainless Steel is a high-performance special metal that combines the benefits of austenitic and ferritic stainless steels. View product → |
Frequently asked questions
What should you record before examining damaged super duplex?
Photograph the component before cleaning, disassembly or grinding. Record damage location, orientation, pit density, crack openings, deposits, heat tint, machining marks, thread roots, gasket faces, welds and heat-affected zones. Preserve loose deposits and corrosion products in labelled containers.
How do you match a super duplex damage pattern to a failure mechanism?
Compare the location and shape of pits, cracks and deposits with service conditions, stress direction, machining marks, gasket faces, welds and heat-affected zones. This helps distinguish corrosion, stress-corrosion cracking, erosion, fatigue and welding-related damage.
Why check phase balance in super duplex after welding?
Welding and excessive heat exposure can alter the ferrite-to-austenite balance and reduce corrosion resistance or toughness. Examine the parent metal, weld metal and heat-affected zone separately.
Which tests help diagnose super duplex metal problems?
Use visual and dimensional inspection first, then select metallography, ferrite measurement, hardness testing, chemical analysis, corrosion testing, non-destructive examination and deposit analysis for the specific evidence required.
How should you choose replacement material after diagnosing the failure?
Match the replacement to the service medium, temperature, stress, fabrication route and failure mechanism. Compare super duplex with duplex, AISI 316L and Inconel only after confirming corrosion, strength and welding requirements, then request heat, chemistry, mechanical, inspection and traceability documents.